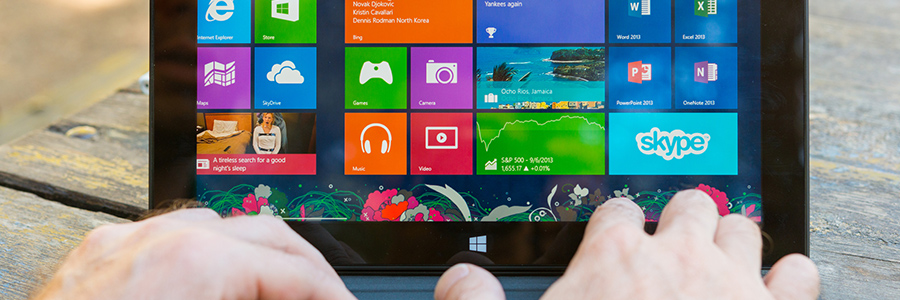
For those of you coming from Windows 7, Windows 10 has a quite different start menu; here are some options for customizing it to get the most out of the new menu!
Resizing the Start Menu:
The Windows Start Menu can be resized quickly by dragging the time or right edge of the menu with your mouse.

Resizing vertically works just as expected. When resizing horizontally, It can be increased by one full column of icon groups at a time—up to four columns. Unfortunately, it can only be narrowed down to one column.
You can also set Windows to show a few extra tiles in each column. Just head to Settings > Personalization > Start and turn on the “Show more tiles on Start” option

With the “Show more tiles on Start” option on, you can see that the tile column has expanded by the width of one medium-sized tile.

NOTE: If you do turn on the Show more tiles option, you can still resize the Start menu horizontally, but only up to three columns of icon groups instead of four.
Pin and Unpin Tiles/Applications:
You can easily pin and unpin tiles/applications by right-clicking on each one and selecting Pin to Start and Unpin from Start options respectively.

If you want to add a tile for an application, just browse through the list of apps on the left side of the Start menu. Once you’ve found the application, right-click the app and choose Pin to Start.

Resize Tiles
You can change the size of a tile by right-clicking it, pointing to Resize, and then picking the size you want.

Four small tiles fit into a medium tile. Four medium tiles fit into a large tile. And a wide tile is the size of two side-by-side medium tiles.

Unfortunately, the tiling can be a little weird, so if you have an odd number of small tiles, you’ll end up with blank space.
Turn Off Live Tile Updates
If all those flashing tiles end up annoying you, just right-click on them, point to “More,” and then choose “Turn live tile off.”

Compared to the example above, you can see that the News tile is back to being a regular tile button.

For the most part, we find live tiles a little busy for our tastes, but they can be useful for tiles like Weather or Calendar where it’s nice to have some at-a-glance info.
Group Tiles Into Folders
You can also group tiles on the Start menu into folders. These folders work much like app folders on a smartphone. To create a new folder, drag any tile and drop it onto another tile. Those tiles will then be grouped into a folder. You can then add other tiles to the folder by dragging them on top of the folder.

Once you have tiles in a folder, you just have to click the folder to expand it.

Then, you can click any tile inside to launch the app. Click the arrow above the folder to collapse it again.

If you want to remove tiles from a folder, drag them back out of the folder and drop them directly on your Start menu. You could also unpin the tile from your Start menu and then pin it back again if dragging them out is too awkward.
Remove All Live Tiles if You Don’t Like Them
If you don’t like the tiles on your Start menu at all, you can remove them. Just right-click each one and then click “Unpin from Start” until they’re all gone.

After you unpin the last tile, you can resize the Start menu horizontally by grabbing its right edge and dragging until the tile section disappears. You’re then left with just a nice, trim list of apps.

Tech Tip Provided By:
Tyler Stimac, Escalation Engineer
Center for Computer Resources